DIY Dog Tags & Winter Bandanas
Paper and Fabric Crafts for Kids
Nothing says “cozy” like a pet in a snuggly bandana and a shiny name tag—especially when kids make them. These two crafts (paper tags and fabric bandanas) are simple, seasonal, and adjustable for different ages. Use them for a weekend project, a classroom maker station, or a library craft day. We’ll give you no-sew and beginner-sew options, plus ideas to turn the project into a reading and writing mini-lesson.
Safety first: Always supervise cutting tools, hot glue, and small parts. For very young crafters, pre-cut shapes and use tape or school glue instead of hot glue.
Craft 1: Paper “Dog Tags” (laminated or tape-sealed)
Great for: classrooms, libraries, quick parties, or families without special tools. Works as a real collar charm (laminated cardstock) or a pretend play badge on a lanyard.
Materials (per tag):
- Heavy cardstock (or a cereal box panel)
- Pencil and black marker
- Crayons or colored pencils
- Scissors or craft punch (circle or bone shape)
- Hole punch
- Clear packing tape or a laminator sheet (optional but sturdy)
- Split ring or ribbon/string (for collar or lanyard)
- Stickers, washi tape, glitter glue (optional)
Steps:
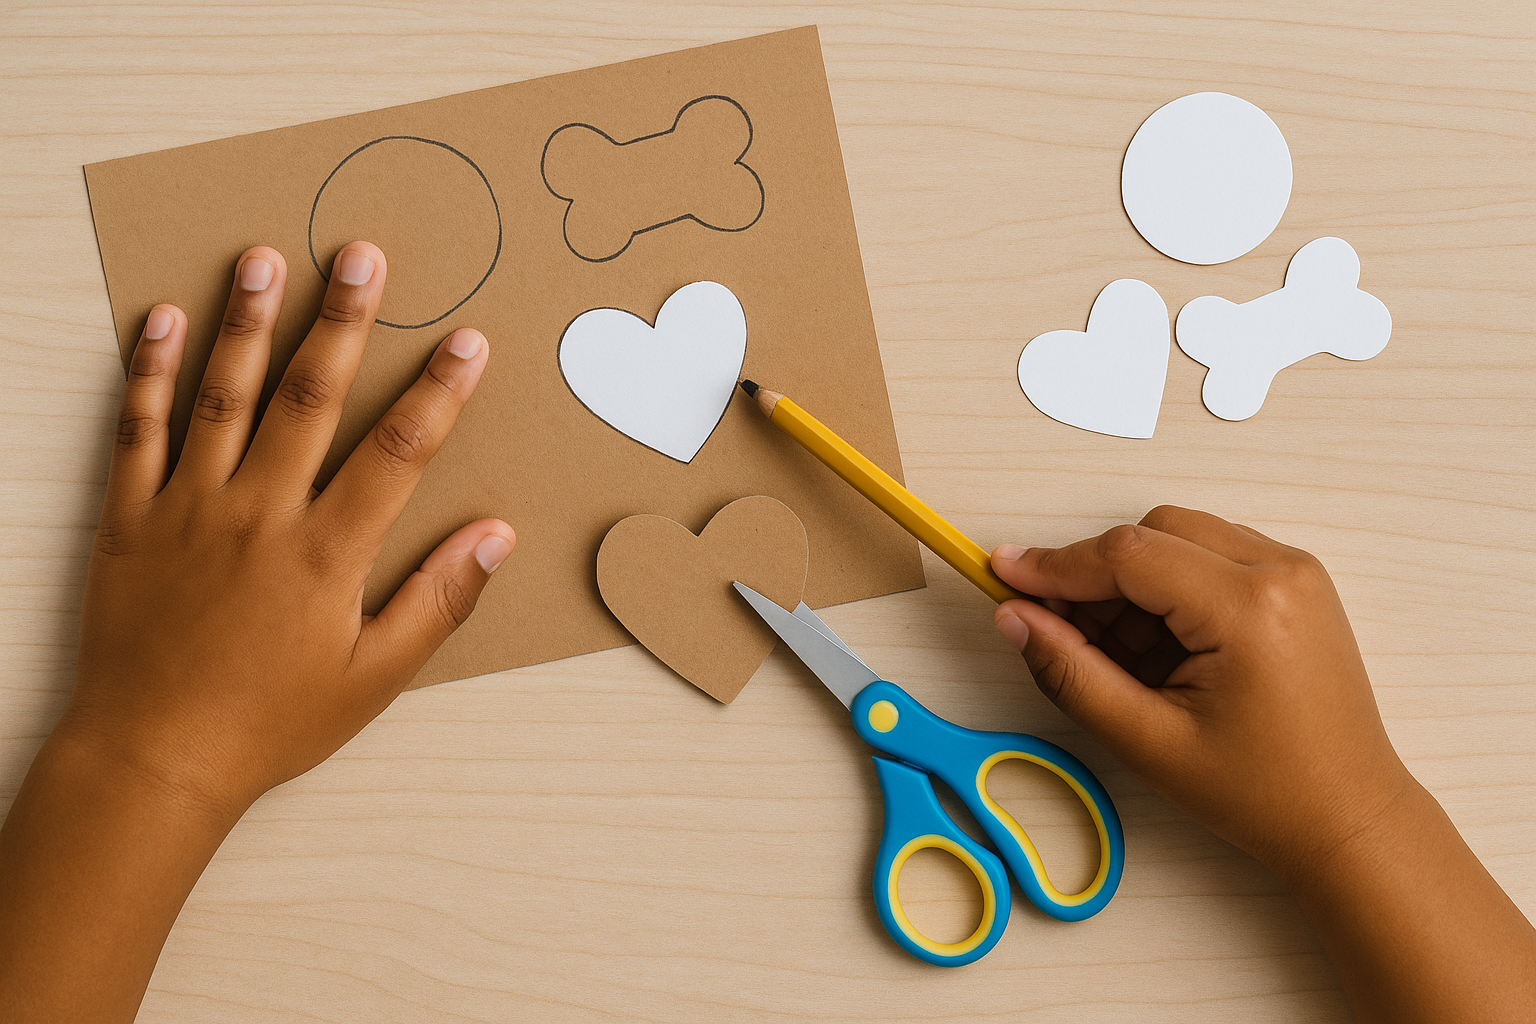
- Trace & cut. Draw a simple tag shape: circle, heart, or bone. Cut it out. (You can stack two pieces for a front/back that sandwiches together.)
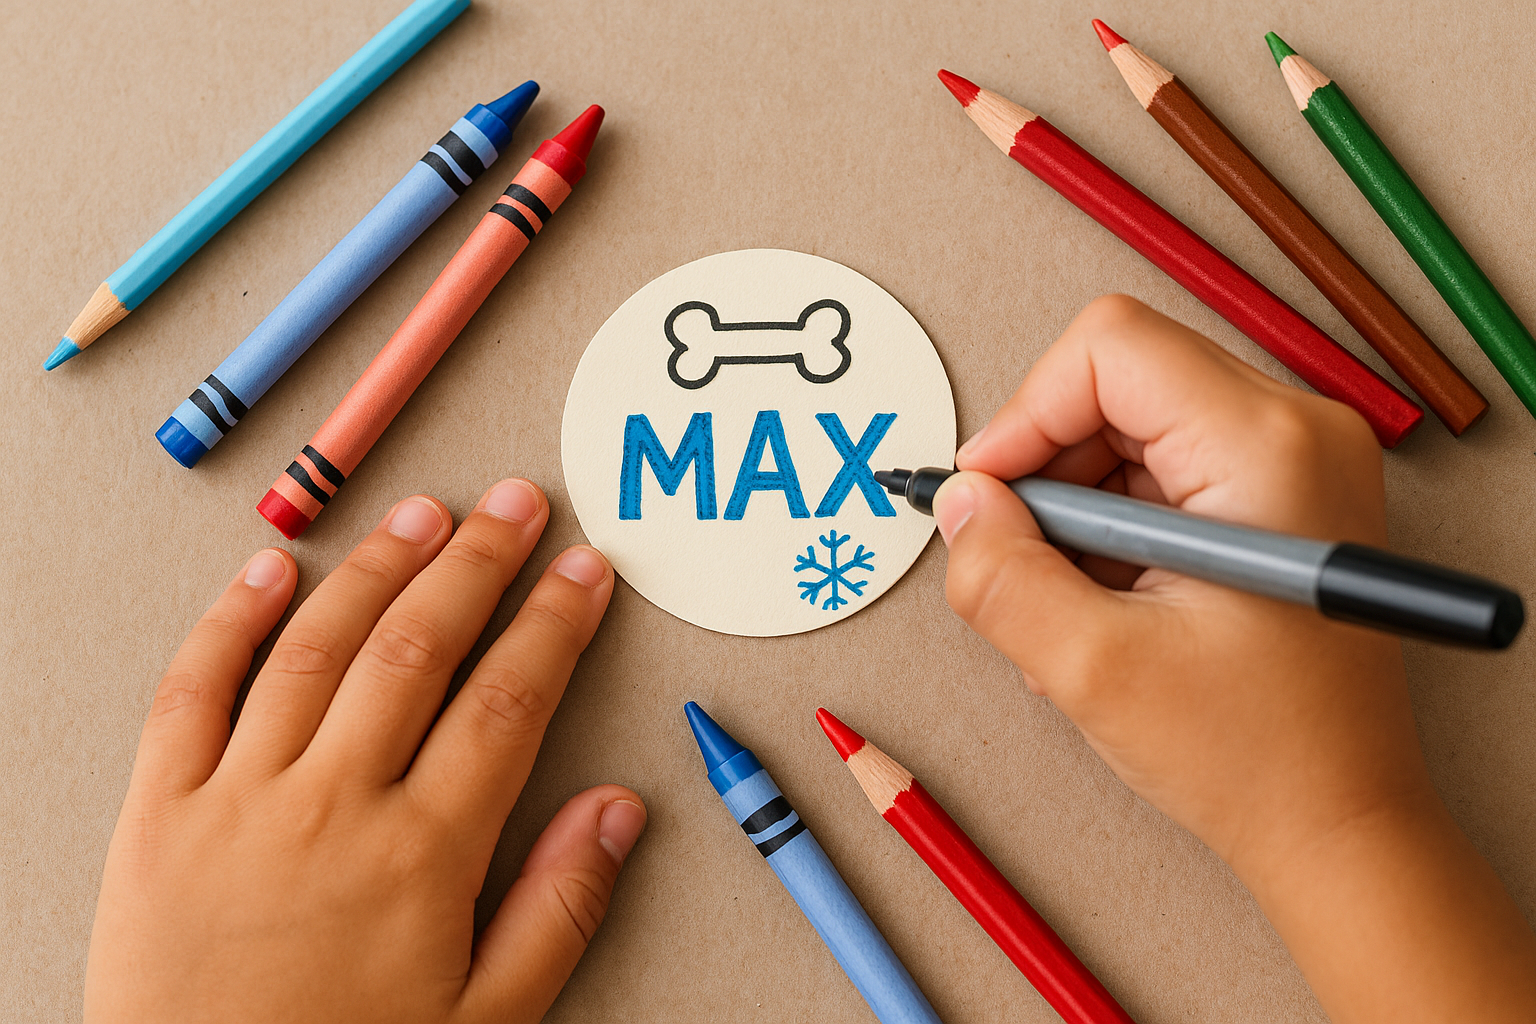
- Design the front. Add your pet’s name in big block letters. Kids can decorate with tiny icons: a snowflake, paw print, or mini bone.
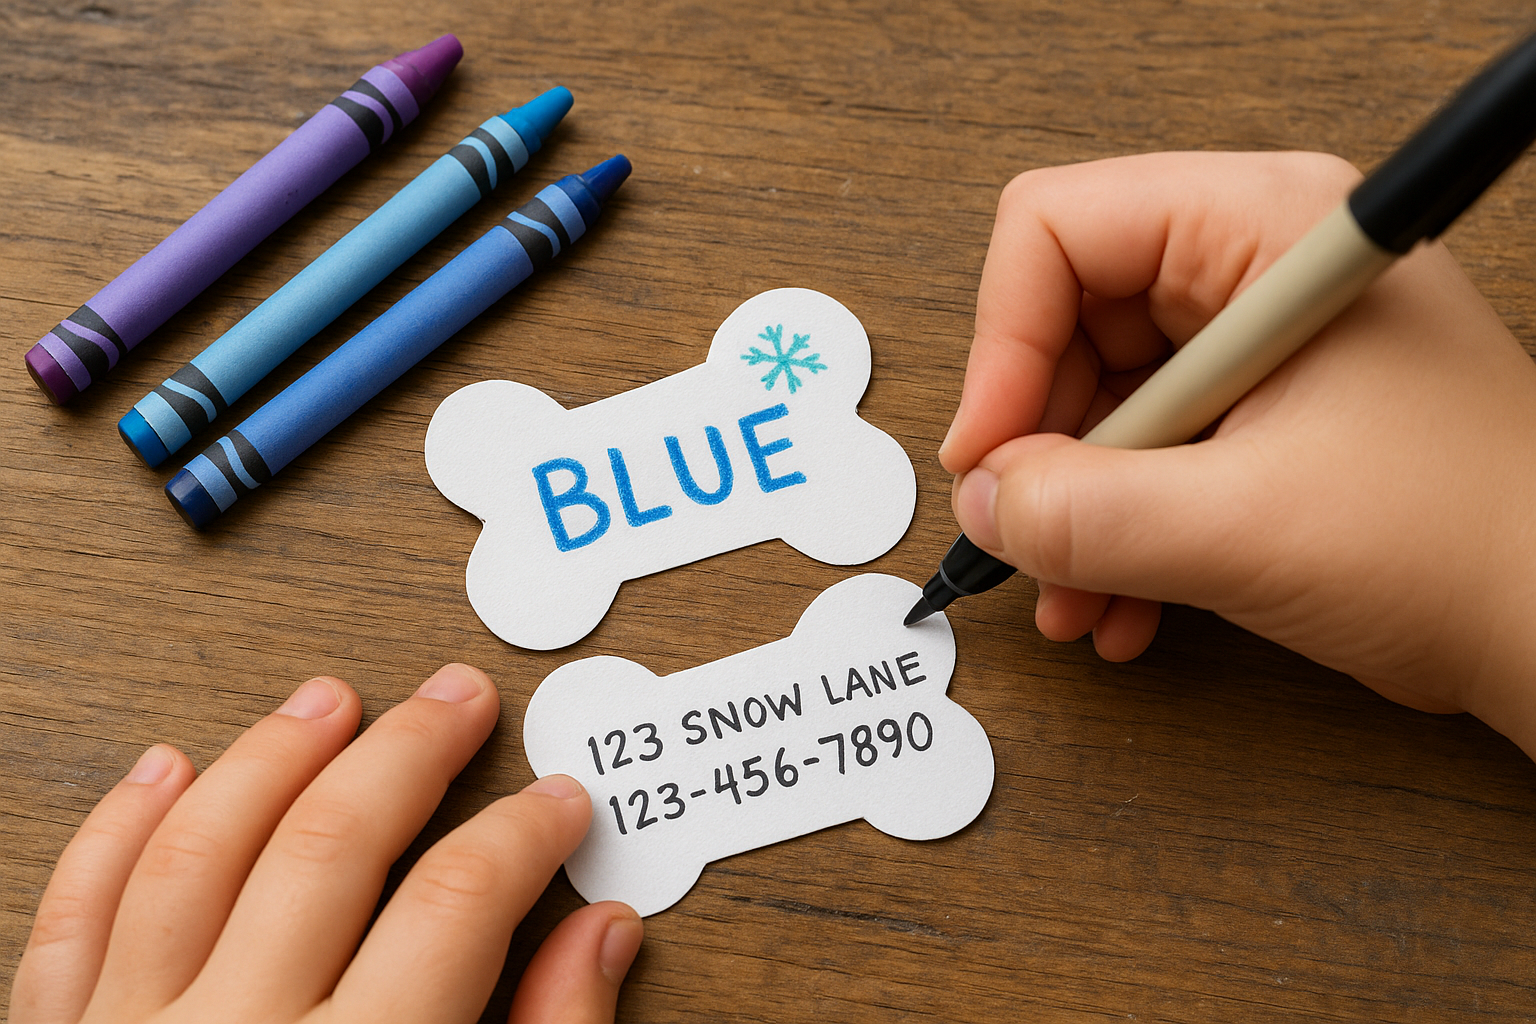
- Info on the back. Add a phone number or a pretend “address” for play. For school groups, skip personal info and write a favorite adjective: “Brave,” “Gentle,” “Zoomy.”
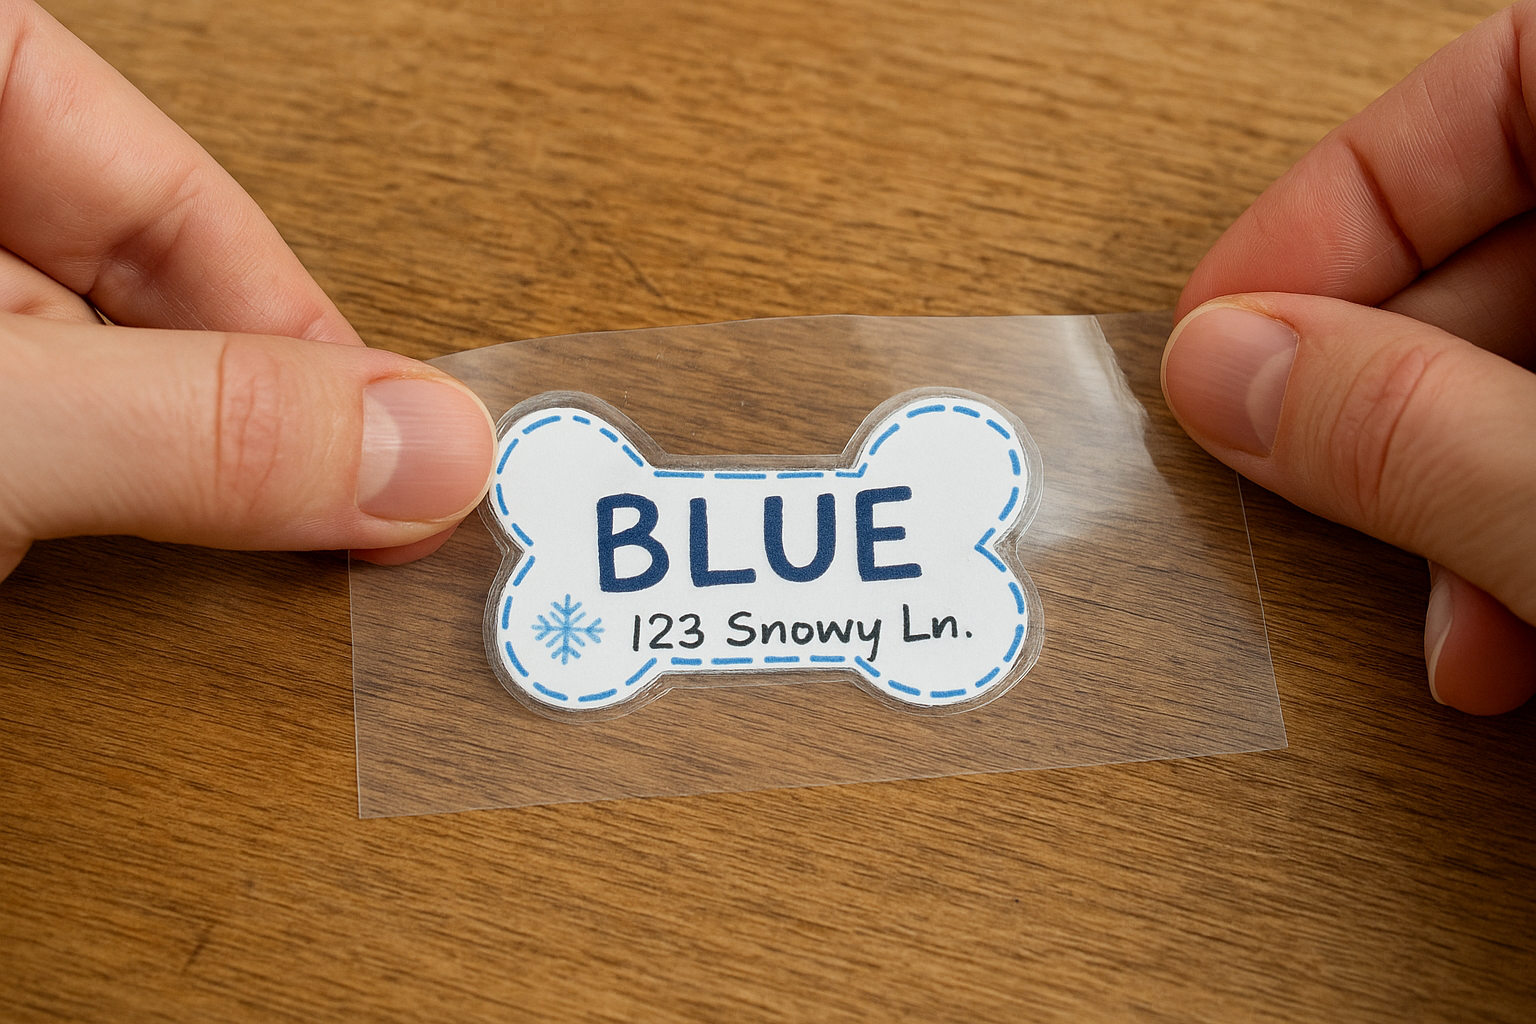
- Seal it. Place the tag on clear packing tape sticky side up, fold tape over, and trim a neat border. Or run through a laminator.
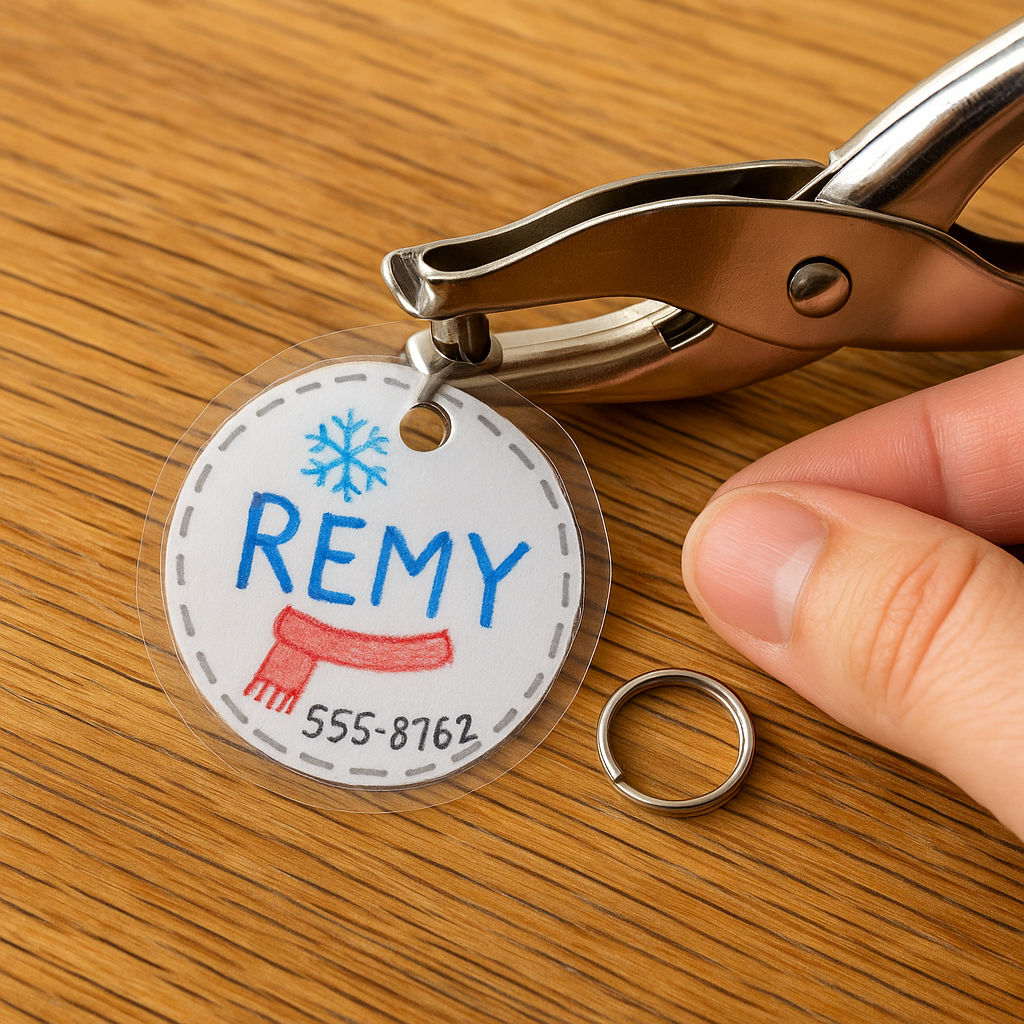
- Punch & hang. Hole-punch the top edge. Slide on a split ring for a real collar, or thread ribbon to wear as a lanyard during pretend play.
Make it wintery:
- Add a tiny paper scarf or hat sticker.
- Use silver marker “stitch” lines around the edge for a quilted look.
- Sprinkle a dusting of glitter glue for “snow.”
Literacy tie-in:
Have kids write a “pet ID poem” on the back: three lines that describe their pet—“Name: Blue / Loves: snow zoomies / Superpower: nose knows.”
Craft 2: Winter Bandanas (no-sew and beginner-sew)
Great for: family craft afternoons or maker clubs. Choose no-sew for speed or add a couple of straight stitches for durability.
Materials (per bandana):
- Soft cotton or flannel fabric (square)
- Fabric scissors (or sharp household scissors for adults)
- Ruler or measuring tape
- Fabric glue (washable, non-toxic) or needle and thread/sewing machine
- Iron-on hem tape (optional, for a tidy fold)
- Velcro dots or snaps (no-sew closures), or plan to tie the ends
- Optional decorations: felt shapes (snowflakes, bones), embroidery floss, fabric paint, buttons (for non-chewers only)
Sizing guide:
- Small pets: 14–16″ square
- Medium: 18–20″ square
- Large: 22–24″ square
You can also make a triangle bandana by cutting a rectangle (the pet’s neck measurement + 6–8″) and folding it into a long triangle scarf.
Option A: No-sew triangle

- Cut the square to size and fold it diagonally into a triangle.
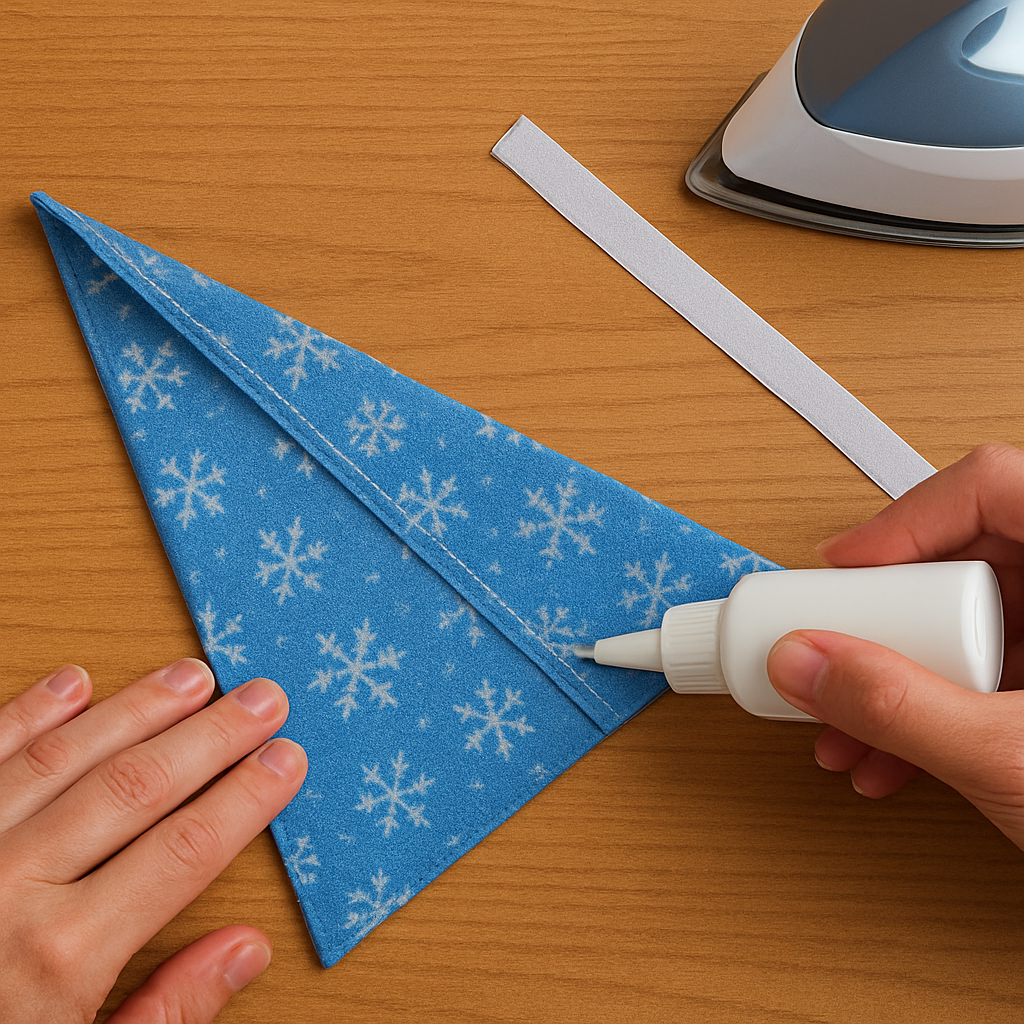
- Glue a narrow hem: Run a thin line of fabric glue along the two raw edges, fold ¼” over, press, and let it set. For extra tidy edges, use iron-on hem tape (adult step).
- Closure:
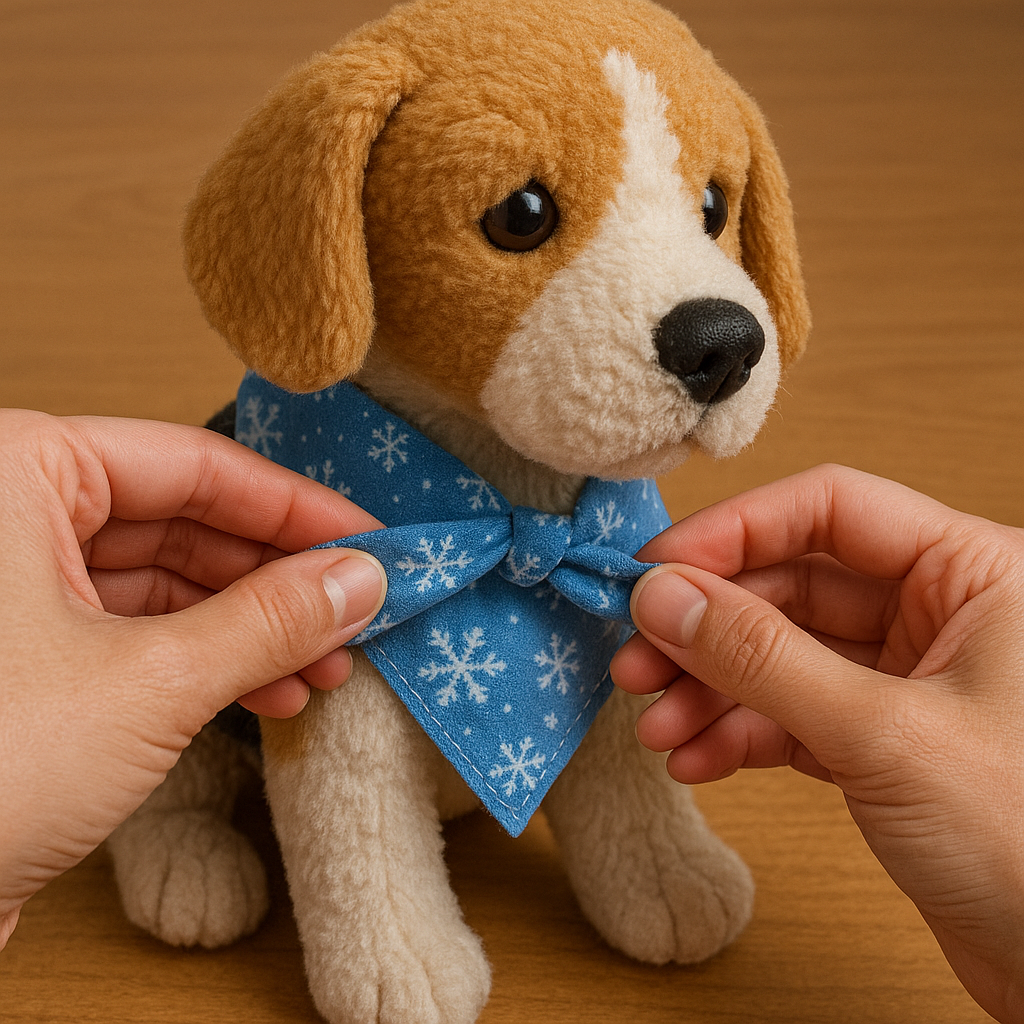
- Tie-on: Leave ends long enough to double-knot loosely.
- Velcro: Overlap the two ends, mark the contact spots, and stick Velcro dots (reinforce with a dab of glue).

- Decorate: Glue felt snowflakes or a bone shape with your pet’s name written in fabric paint. Add a reflective strip near the edge for winter walks.
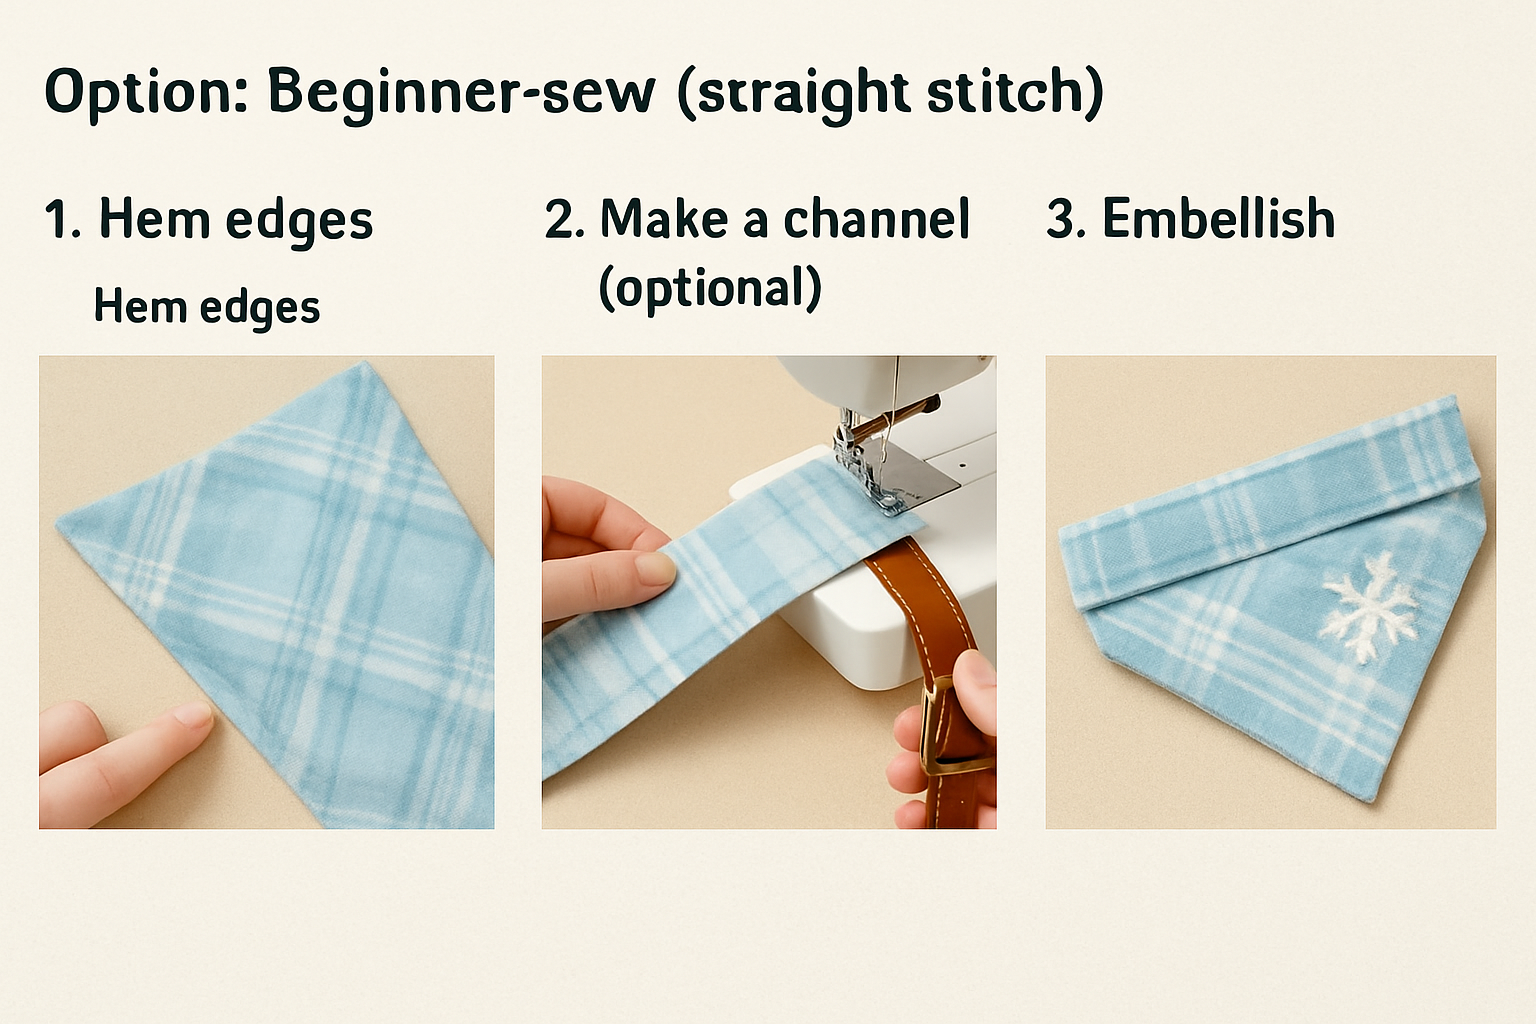
- Hem edges: Fold ¼” along the two raw edges, press, and sew a straight stitch.
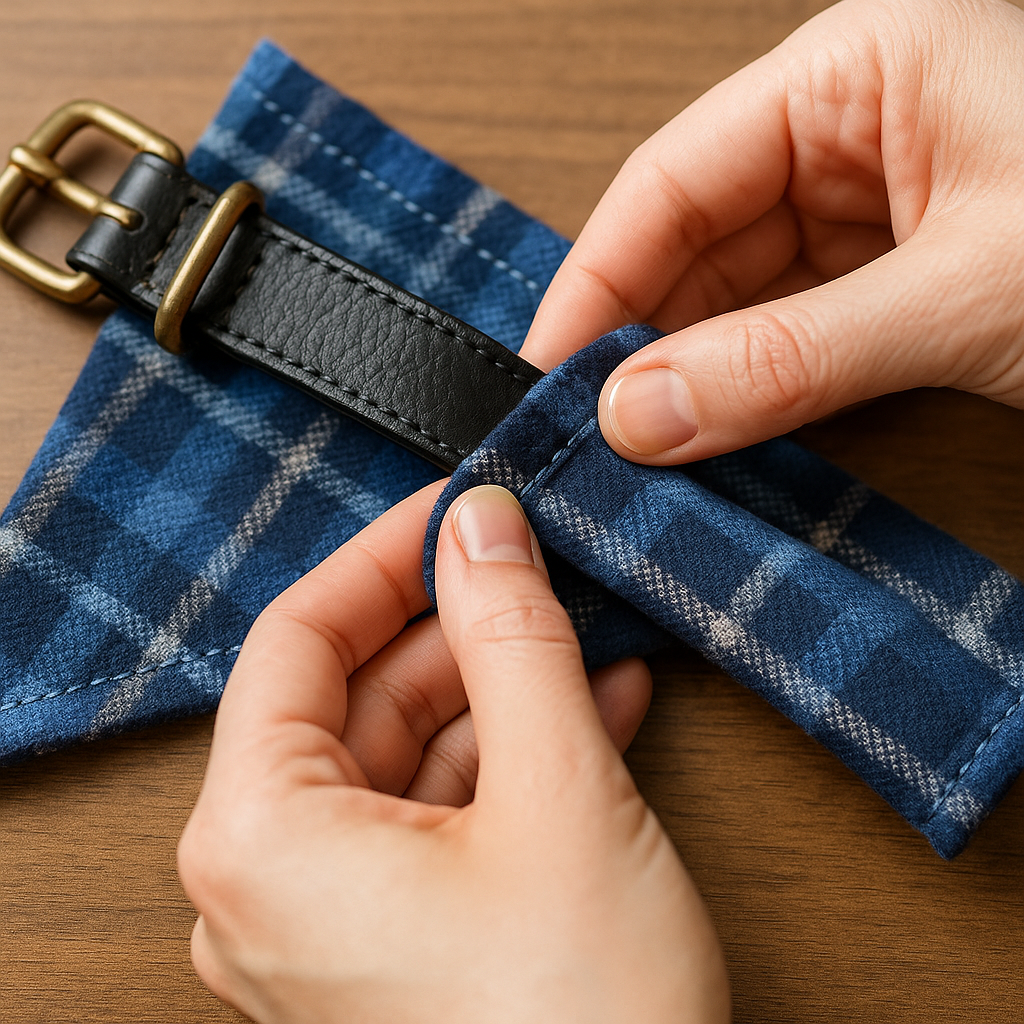
- Make a channel (optional): If you want the bandana to slide onto a collar, fold the long edge over by 1–1.5″, sew along the bottom of the fold to create a tube, and thread the collar through.
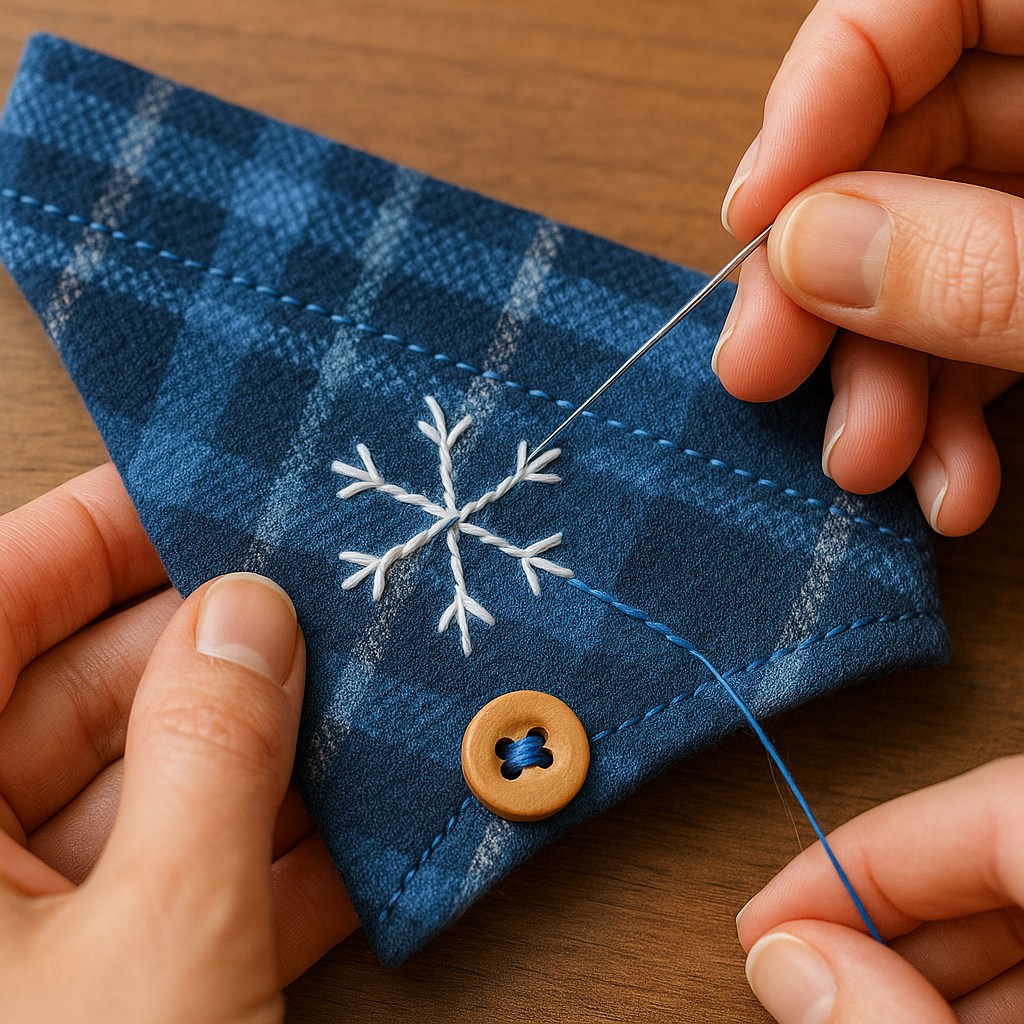
- Embellish: Hand-stitch a simple snowflake or a tiny heart using contrasting embroidery floss (kids can try a running stitch). Sew on one button only if your pet doesn’t chew.
Fit check: You should be able to fit two fingers between bandana and neck. If tying, secure a double knot that sits at the side of the neck rather than underneath the chin.
Classroom or party setup
- Stations: Cutting (adult-led), Decorating, Sealing/Pressing, and Photo Booth.
- Name cards: Pre-print pet names (or fun animal alter egos) on small labels.
- Timebox: Paper tags (15–20 min). No-sew bandanas (25–35 min).
- Take-home care card: “How to wash your bandana” (cold, gentle, lay flat) and “Safety tips” (remove during rough play or crate time).
Variations and add-ons
- Seasonal swap: Make two reversible sides—holiday print on one, plain color on the other.
- Reflective edge: Stick a reflective ribbon along the hem for evening visibility.
- Matching kid scarf: Cut a second triangle for your child (larger size) and finish edges the same way for a twinning moment.
- Tag + bandana combo: Glue a small felt “patch” on the bandana and clip the laminated paper tag through it with a tiny safety pin (adult only).
Photo-worthy finish
Create a simple winter backdrop: white sheet, paper snowflakes, and a cardboard “Paw-liday Parade” banner. Snap photos and print mini “pet portraits” to tape into journals. Kids can caption the photo: “Blue wearing the Blizzard Bandana.”